Check out our latest SPC floating floor installation video! It demonstrates the keys to a successful installation. Whether you’re a seasoned pro or a flooring rookie, following each step means our vinyl flooring will perform as it was designed to. The flooring’s beauty will last years longer, and our product’s warranty will remain in effect. Plus your good reputation for a job well done will shine, mostly in the eyes of the end user. That’s exciting, isn’t it?
If you’re one of those who likes to read the book before watching the movie, read our SPC floating floor installation guide.
Start with the pre-installation phase
A proper flooring installation depends on this phase. So, before you end up with flooring that doesn’t look right, start here.
Gather the right tools and materials
To do the job right, you’ll need:
- Double-sided mallet
- Tapping block
- Utility knife
- Vinyl plank cutter (optional)
- Knee pads
- Quarter-inch spacers
- A pencil
- Flooring pull bar
- Measuring tape
- A level
- Chalk line reel
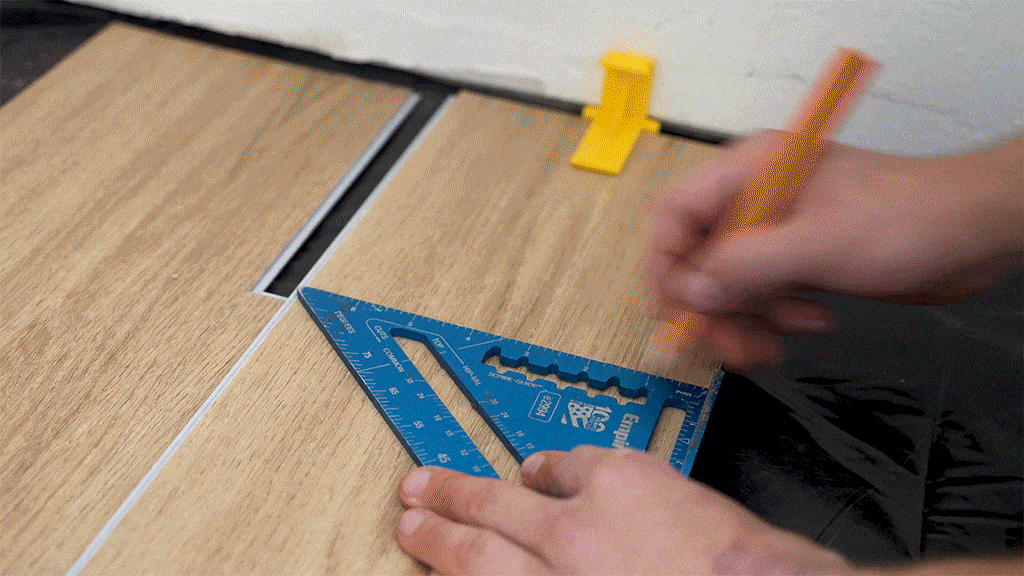
- Carpenter’s square
Prepare the subfloor
No. 1 on your to-do list should be to inspect the condition of the subfloor. Is it clean? Use your broom. After a good sweep, check the level of the surface, putting your face to the subfloor as if you’re looking for a contact lens. If you notice a high spot, use your level tool, because vinyl flooring must sit on a level surface within 3/16 of an inch. Grind down the surface if you have to. Fill holes in the subfloor.
Measure the room
Find out how many boxes of flooring you’ll need for the project (10% extra flooring is recommended). So, find the area of the room. Here’s how:
- Measure the length and width of the space.
- Divide the area by square feet printed on the box.
The answer will give you an estimate on how many boxes of flooring you’ll need.
Check the batch number
See it at the end of the box? Compare it to the number on the other boxes. For one project, the batch numbers should match, allowing the area of a room to match in color, shade and texture for a more harmonious look.
Allow time for acclimation
Let the flooring adjust to its new home. Just stack the flooring boxes in the room where the flooring will be installed.
- Open the ends.
- Let the boxes sit for 48 hours.
The 48 hours will allow the flooring to adjust to the room’s temperature, which should be between 65-85 F. After 48 hours, the flooring will be better able to resist buckling and gapping as time goes by.
Protect the subfloor from alkali damage
Let’s say there was a flood from above or a slab leak from below. That would change the pH of a cured concrete slab, and in time the pH would damage the flooring material.
What is pH?
This is a measure (from 1 to 14) of the acidity or alkalinity of a liquid. Distilled water sits in the middle of the scale, showing a neutral pH of 7. An acid has
a pH below 7, and anything with a pH above 7 is an alkali, or base. Vinegar
has a pH of about 2. That’s very acidic.
You should test the concrete subfloor to determine the pH level and alkalinity. Any pH level below 5 or above 9 can cause the flooring material to break down over time.
Two tests are required:
- pH
- Moisture (rH)
No time for a complete test? Use a non-permeable moisture vapor barrier rated for 100% relative humidity. Here are two quick options:
- Layer 6 mil polyethylene
- Apply Sahara (a moisture barrier)
Install the flooring
Once the subfloor gets two thumbs up for moisture protection, you can begin installing the boards! Start along the wall. The edge row. Start here to keep the boards from shifting as you secure them with a tapping block. And, working along the edge row ensures straight lines, preventing the boards from looking uneven after you install them.
Are you ready to install our SPC Floating Floor?
Even if you’ve been installing flooring since the days of the first Nintendo Game Boy, watch our new video. It’s a crash course. Follow along and you’ll avoid common mistakes, which use up your time. You’ll know why you should prepare the subfloor by first getting rid of any moisture. You’ll see the value of measuring the room before you place your order for vinyl flooring, not to mention the advantage of using a vinyl plank cutter. The video is a must-see. Spend a short time watching it, and your installation will show long-lasting beauty. That’s your goal.
If you want complete details on how to install our SPC floating floor, read our installation guide. If you like the written version, you’ll love our new video.
- Helping Others Is Always In Season – December 23, 2021
- How To Get Around The Supply Chain Bottleneck – December 16, 2021
- Pair Our Flooring With The Sherwin-Williams 2022 Color Of The Year – November 12, 2021