Our Sound-Tec Waterproof floors are the easiest DIY flooring in the market, making it a DIY favorite!
Here’s how to install.
Prep The Subfloor
1. Make sure the floor is clean, leveled within 3/16” in 10ft, and dry before installation
Remove any foreign substances such as wax, grease, dirt, or any other chemicals.
The benefit of Sound-Tec is that you can install over many different substrates and imperfections.
2. Clean up all the dust and debris.
3. Check for matching batch numbers on the side of each box.
4. Acclimate glue down planks for 48 hours in 65 to 85 degree temperature.
5. Open and work from multiple boxes to minimize pattern repeat and create a more natural look.
Check for any defects prior to installation.
6. Lay the first plank along the longest wall in the left hand corner after placing quarter inch spacers to leave an expansion gap.
7. Angle the plank at 45 degrees to engage the long side of the clip.
8. Gently secure with a soft edge hammer then tap the edge to secure the plank.
Don’t angle short slide clips, they’ll break.
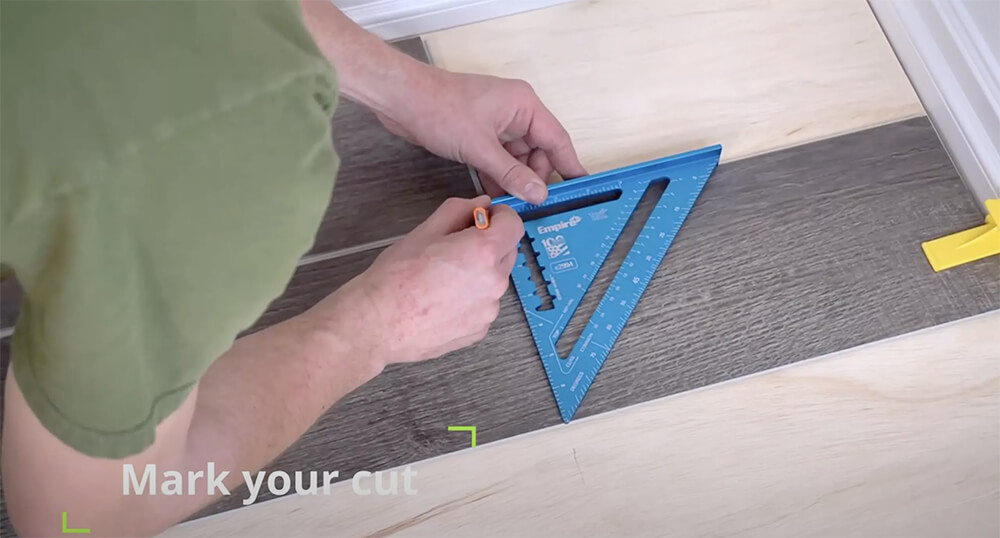
9. Measure your plank, mark your cut, score with a utility knife, and snap it in half.
Continue laying your planks while making sure they’re together tightly.
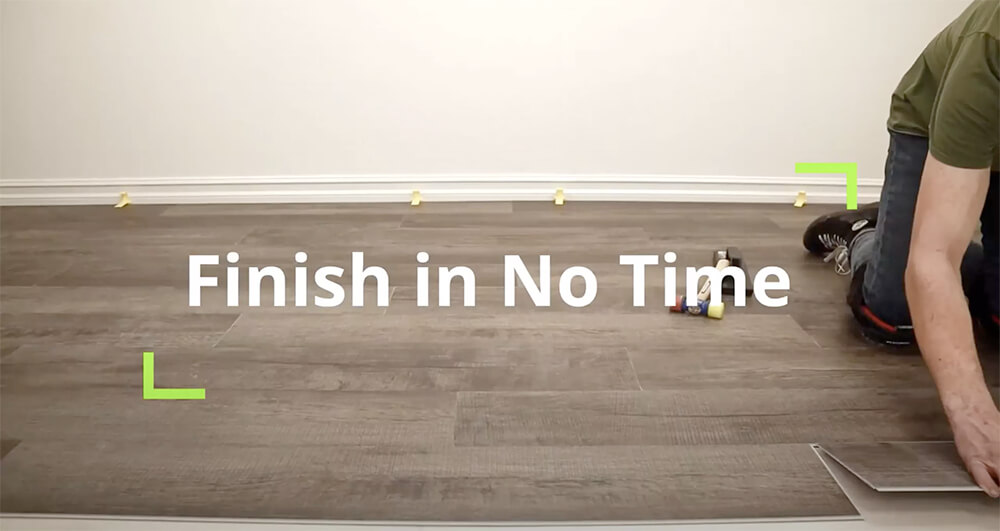
Finish laying the rest of the planks in your space, walk around it the surface, and enjoy your new easy maintenance floors!
- How to Become an Interior Designer - April 12, 2023
- BIM Objects Now Available To Download - September 22, 2022
- Amazing Responses From Customers Installing Our New All-In-One Stair Tread - September 9, 2022



Does your flooring come with spacers or do I have to buy them separately?
You’d have to buy those separate